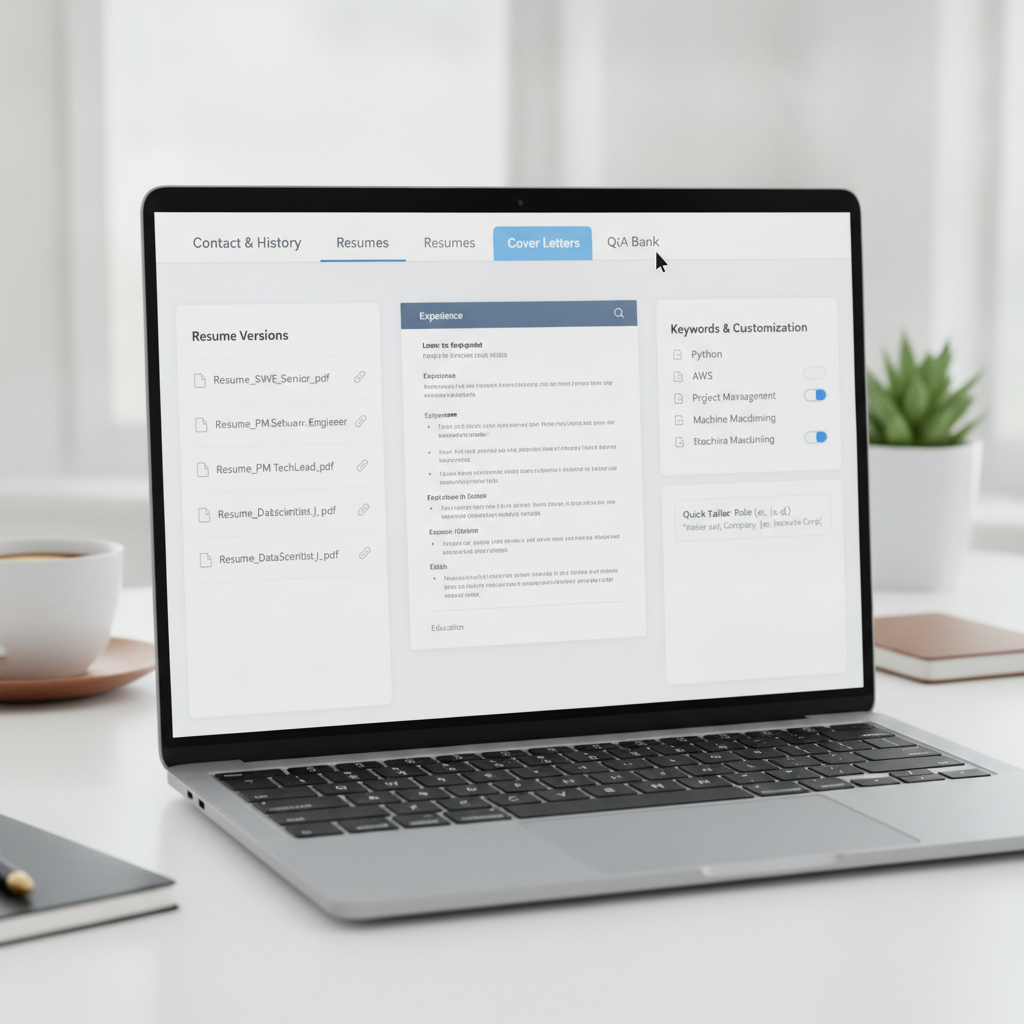
If you’ve ever spent twenty minutes retyping your work history into yet another job portal, you already know the pain of applying online at scale. La solution isn’t a magic button — it’s preparation. A master job application profile is a single, organized document that houses everything you need to apply to any job in minutes instead of hours. This guide walks you through building one from scratch.
This article is part of our broader series on The Fastest Way to Fill Out Job Applications Online, and pairs well with our breakdown of autofill tools and browser extensions that can pull data directly from the profile you’re about to create.
What Is a Master Job Application Profile?
A master job application profile is a centralized reference file — usually a document or spreadsheet — that contains every piece of information you’re regularly asked for during online job applications. Instead of digging through old emails or rewriting answers from memory, you copy, paste, or import directly from this file. Think of it as your personal database for job hunting.
The goal isn’t just convenience. A well-built profile also improves consistency and quality, since you’re pulling from polished, pre-reviewed content rather than writing answers on the fly, often late at night or under time pressure.
Why a Master Profile Saves So Much Time
Most online applications ask for the same core pieces of information: contact details, employment history, education, skills, certifications, and answers to common screening questions. When you don’t have this ready, every application becomes a fresh writing exercise. When you do, applying becomes a matter of copy-paste and light editing.
This approach is especially powerful if you’re pursuing a high-volume strategy, such as the one described in our guide to mass applying to jobs online. The more applications you plan to submit, the more valuable a master profile becomes, since the time saved compounds with every submission.
Step 1: Gather Your Core Information
Start with the basics. Create a section in your document or spreadsheet for each of the following:
- Personal details: full legal name, phone number, email, mailing address, LinkedIn URL, and portfolio link if applicable
- Work history: job titles, company names, locations, employment dates, and 3-5 bullet points of achievements per role
- Education: degrees, institutions, graduation dates, GPA (if strong), and relevant coursework
- Certifications and licenses: names, issuing bodies, and expiration dates
- Skills: both technical and soft skills, ideally grouped by category
- References: names, titles, companies, phone numbers, and emails of people who’ve agreed to vouch for you
Write this information once, in full sentences and complete detail, so you never have to reconstruct it under pressure. Save it in a format you can access from any device, such as a cloud-based document or spreadsheet.
Step 2: Save Multiple Versions of Your Resume
Most job seekers need more than one resume version, especially if they’re applying across different roles or industries. In your master profile, keep:
- A general, broadly applicable resume
- Two or three role-specific variations with tailored summaries and reordered bullet points
- A plain-text version for portals that don’t accept formatted uploads
Label each file clearly with the role or industry it targets, so you can quickly identify which version to attach without having to reopen and review every file.
Step 3: Build a Bank of Cover Letter Templates
Rather than writing a cover letter from scratch every time, create three or four templates that cover the types of roles you’re targeting. Each template should have a flexible opening paragraph, a middle section highlighting relevant experience, and a closing paragraph — all written with placeholder brackets like [Company Name] or [Specific Skill] that you can swap out in seconds.
Store these templates alongside your resumes in the same document, so your entire application toolkit lives in one place.
Step 4: Pre-Write Answers to Common Screening Questions
Many applications include short-answer or multiple-choice questions that repeat across platforms. Save time by pre-writing responses to questions like:
